March
7
Create a Solution to Synchronize Account Expiry : Step 3 – Add the new connector to AAD Connect
the next step is really exciting: add our new connector to AAD Connect:
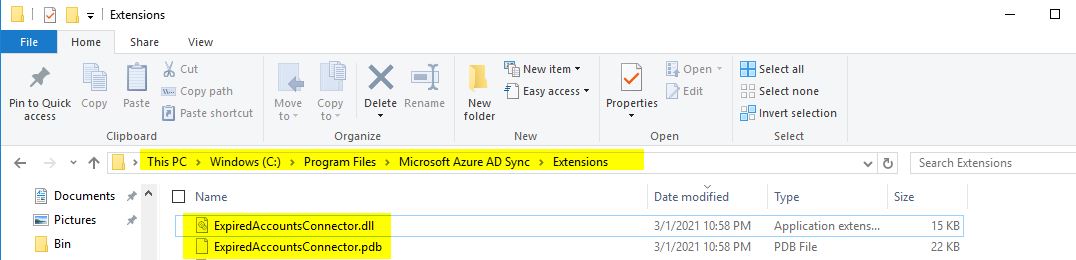
- at first you need to copy the complied dll and pdb file in to the folder: C:\Program Files\Microsoft Azure AD Sync\Extensions

- As next Open the AAD Connect Synchronization Service Console
- Click on Connectors
- Click on Create

- Select the Connector Type: Extensible Connectivity 2.0 and Enter a Name for the connect e.g.

- Click on Browse and select the Dll,: ExpiredAccountsConnector.dll and click ok

- On the page click on refresh interfaces

- Click on Next
- The next windows shows the partition, here just click on next, do not need to change anything

- Select the object:Person

- Select the Attributes (I’d recommend to select them all)

- Click Next
- On the next page you will see the configuration of the anchor, you do not need to change this

- Click Finish